Using Branch
Set up your Branch Wallet in 3 Simple Steps
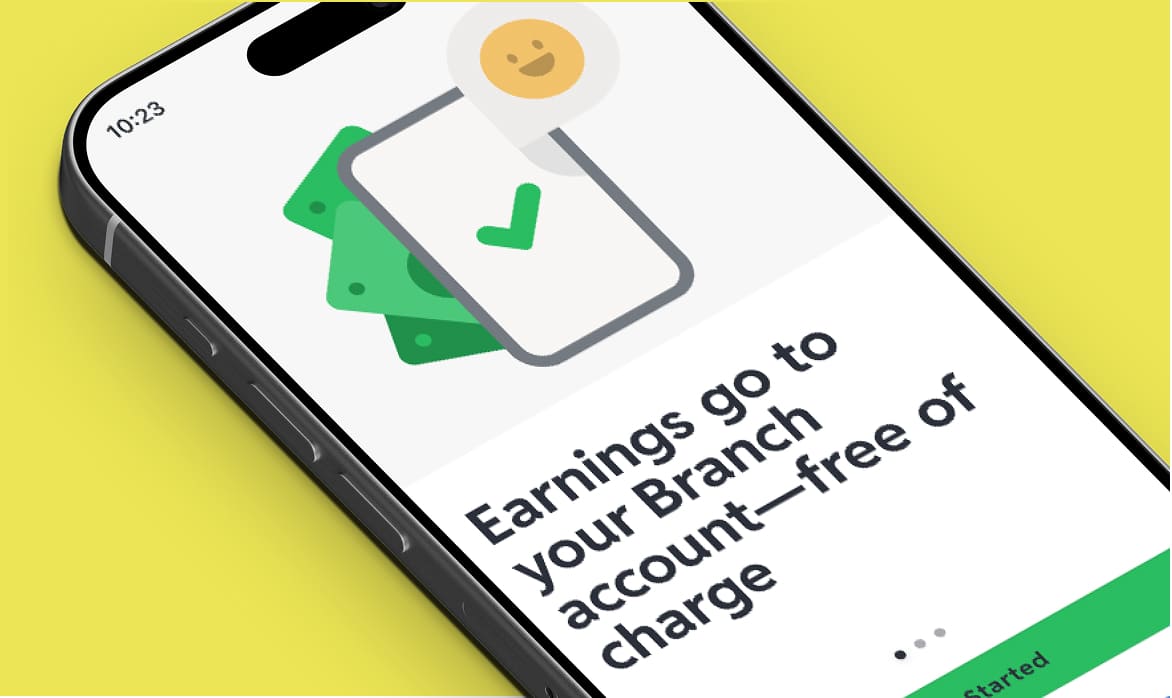
Now that you know all about digital wallets, here’s how to set up one of the best digital wallets out there: the Branch Wallet. Yes, we’re a little biased—but we can’t wait to share with you all the next-level features you get when you set yours up.
As a reminder, your Branch Wallet was created for you by your company and is available for free. Once you set up your Branch account in the app, your digital wallet and card will be automatically created.
Ready to start using your digital wallet right away?
If you haven’t already downloaded the Branch app, be sure to check your email for an invitation from Branch and follow the setup instructions below:
1. Download the Branch app
- Use the activation link in the invitation email to proceed.
- Once the app is finished downloading, you’ll be taken to set up your account.
2. Set up your Branch account
- Tap Sign Up
- When asked "Do you already have a Branch debit card and need to activate it?" select “No”
- Enter the name of the company you work for. If you are part of a franchise, you will want to use the name of your specific location.
- Enter the information requested in the Branch app to get started.
- Once you complete the steps, your wallet will be live.
Need more help? Find additional information for setting up your Branch Wallet here.
Apple or Google Pay: The Ideal Companion to your Branch Wallet
Wait. Before you jump to step 3, let’s get to know the benefits of connecting your Branch Wallet to Apple and Google Pay. Adding your Branch Wallet/Card to Apple or Google Pay opens up possibilities to spend almost anywhere. Imagine using your wallet in millions of locations in-store or online.
Or perhaps you’re concerned about your card getting lost or stolen? Fear not. Google and Apple Pay provide extra protection that amps up security and helps keep your money safe—wherever you go.
Digital wallets don’t have to be complicated. Once you start using your Branch Wallet with Apple or Google Pay, you’ll be equipped to spend in most locations with optimal security.
3. Connect your Branch Wallet/Card to Apple or Google Pay
- Make sure your Branch app is downloaded.
- Log into the app. If you can’t log into your account, contact support.
- Head over to the ‘Wallet’ tab.
- Tap the three dots on the upper right of the card, shown here.
- Follow the steps on the screen to add your Branch Card to your Apple or Google Wallet.
Travel lighter, pay faster, and spend safer.
After you complete the steps, your Branch Wallet/Card should be connected to your Apple or Google Wallet. Now, you can instantly use the money in your Branch Wallet with the convenience and added safety of your smartphone.
If you need another refresher on the basics of digital wallets and how they can make your life a little easier, check out the basics.
Additional Setup
Order your physical card
You not only automatically receive a range of benefits with your Branch digital card and wallet, but also the option to order a physical debit card. It’s always great to have that as a backup.
Send money with Venmo and Cash App
Pay rent or send money to friends and family—link your Branch account to your other favorite financial apps like Cash App and Venmo.